Thank you for buying a copy of the official Ali Abdaal theme!
Please make sure you read through at least the installation instructions below to get your site set up.
Introduction to Ali Abdaal Original
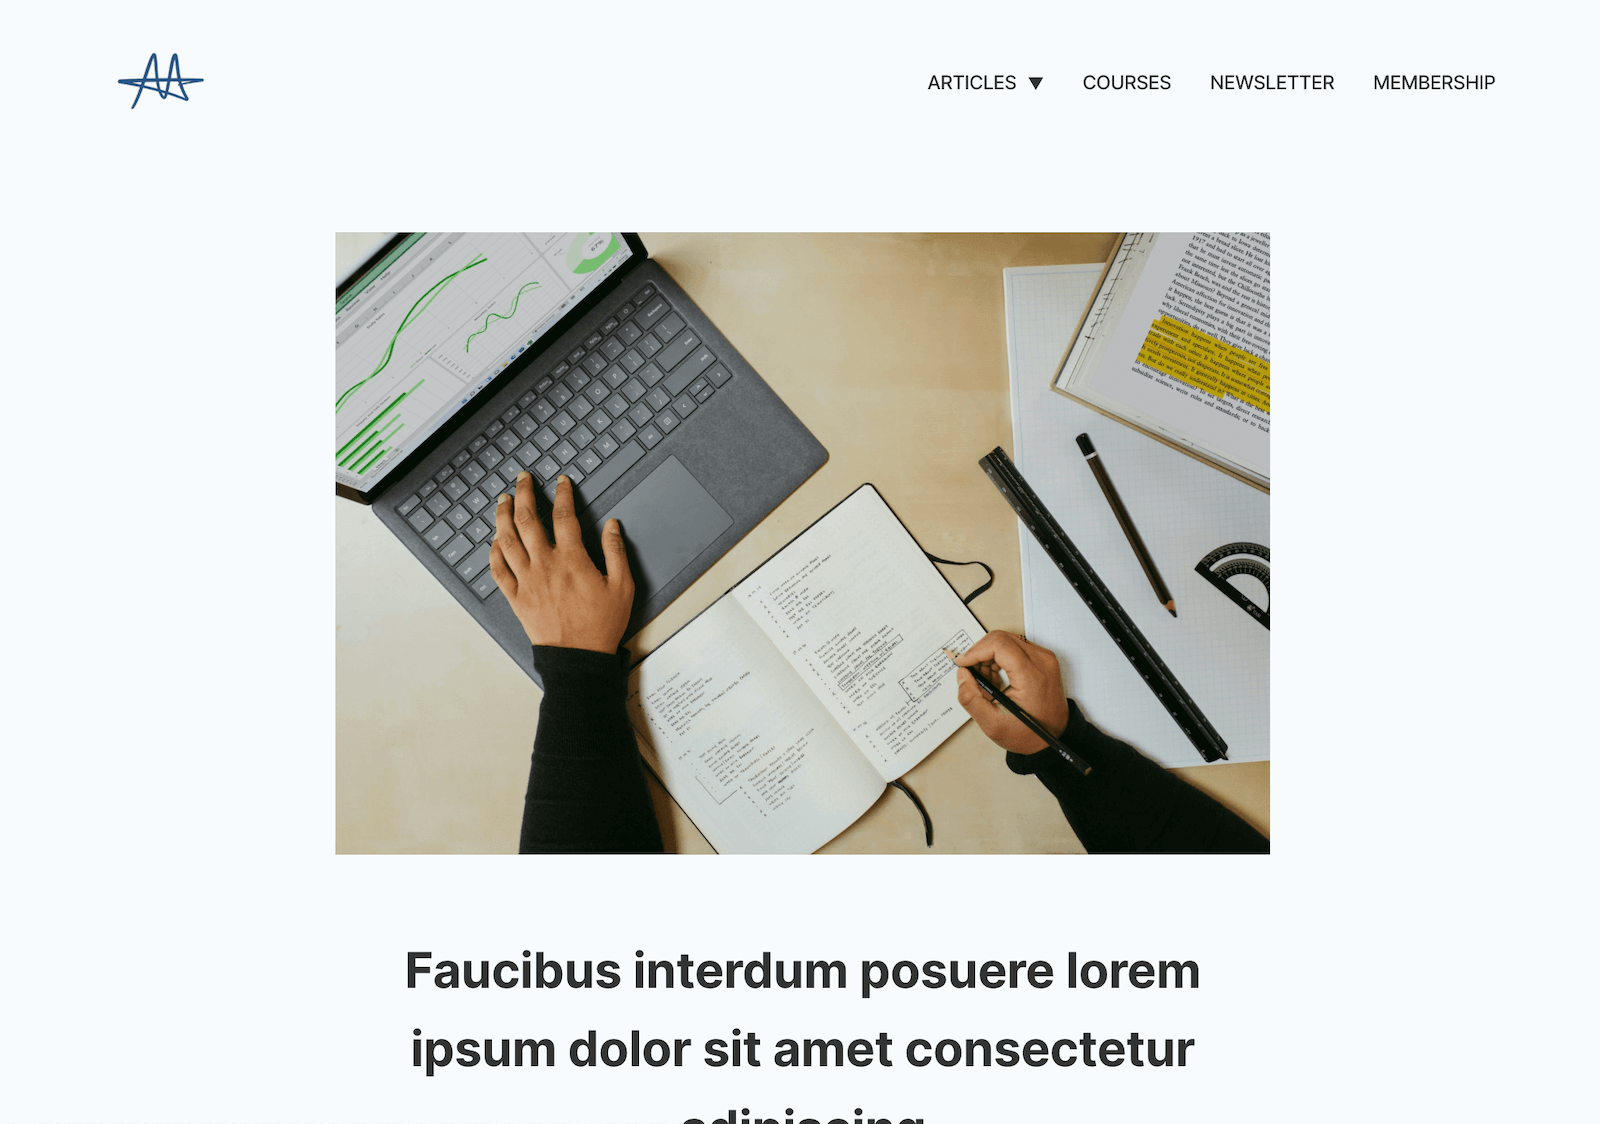
Ali Abdaal Original is a powerful blogging and newsletter theme for Ghost.
The theme was originally designed by Ali himself, and then coded by me for his personal site. Now we're offering it for sale for anyone to user for their own sites!
The theme is easily customisable (both with theme settings and CSS) and supports all types of Ghost content.
It offers content "hubs" for each of your main topics, plus a standalone newsletter page ready for email publishing.
The theme also works with memberships and paid content via Ghost's Portal or custom membership pages, and comes with a built-in commenting tool if you want to enable member discussion around your content.
💬 If you have any questions, please email me or DM on Twitter.
⭐️ Get unlimited Ghost hosting for $19/month or $189/year.
Cheers!
A brief overview of Ali Abdaal Original
- a beautiful blogging theme
- support for content hub pages, with editable introduction content
- includes a newsletter landing page and archive
- supports free and paid memberships via Ghost's Portal or built-in membership pages
- supports multiple authors
- fully translatable into any language
- easy-to-edit colours and settings
- a newsletter subscription form on every page
- support for Ghost and Cove commenting
- full-site search built in
- easy-to-edit HTML-based theme files
- works on any Ghost host
Buy Ali Abdaal Original
Ali Abdaal Original is priced at $149.
Special Offer: Every purchase of Ali Abdaal Original comes with a $20 voucher for Cove, the commenting tool built into the theme. This is redeemable once you start a paid Cove plan ($10/month).
Looking for a Ghost host? A ghost site on Gloat costs $19/month or $189/year, with no limits on page views, members or themes.
Installation
Please follow the following steps to install Ali Abdaal Original on your site.
Upload the theme ZIP
You can install the theme in Ghost by going to Settings > Design and clicking "Change theme" in the bottom left corner.
Then click "Upload theme" in the top right corner and select the ZIP that you downloaded after purchase.
Upload the routes file
Go to Settings > Labs and upload the routes.yaml file from the theme ZIP.
Add your logo and icon
Go to Settings > Design and upload your logo and icon in the "Brand" section.
The "Publication logo" is shown in the top navigation bar. You should make the file as small as possible (Ghost doesn't automatically resize logos like it does with post images). The logo will be maximum 60px tall and 180px wide on the page.
The "Publication icon" is used as a favicon (the icon shown in a browser tab) and can be shown at the top of email newsletters. This should be a small square image at least 60px by 60px.
Create a homepage
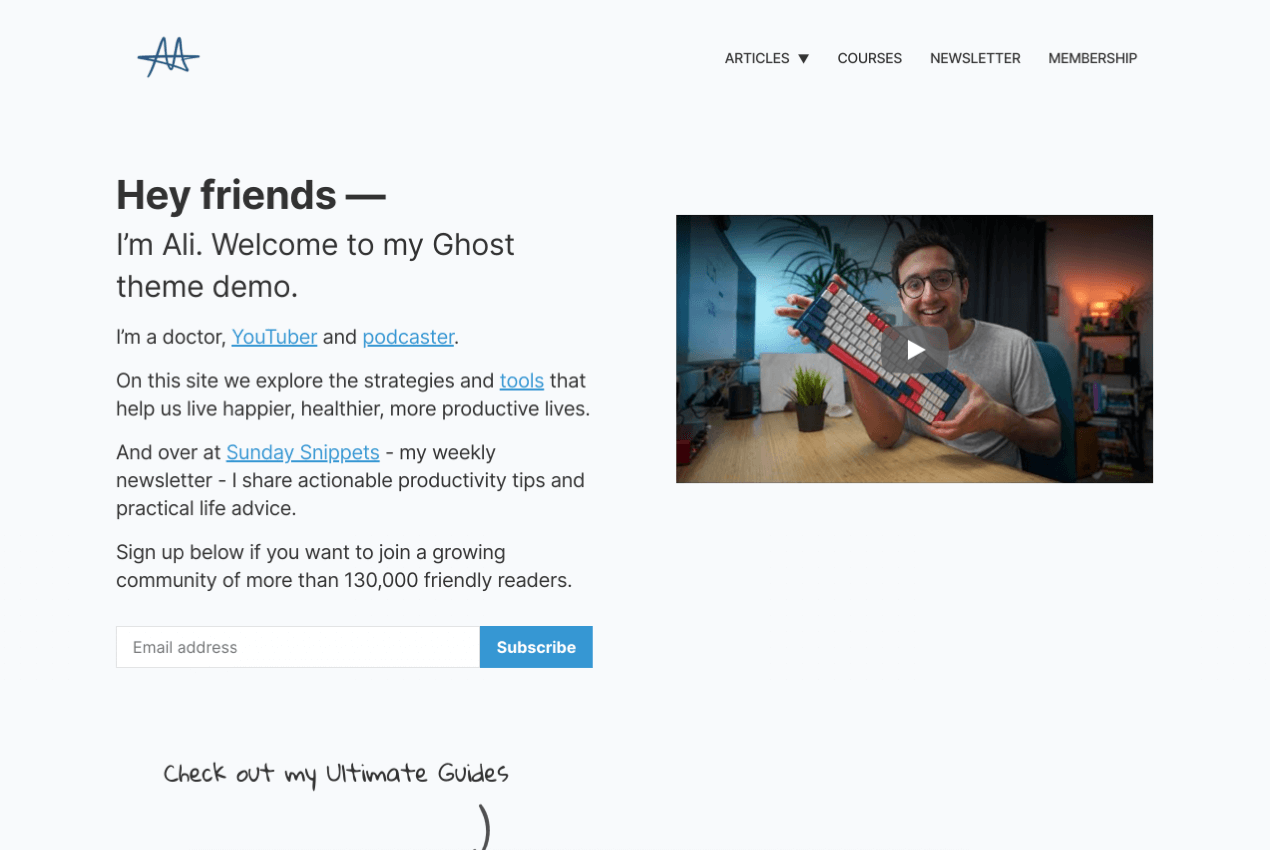
The header section on the homepage is powered by a Page in Ghost.
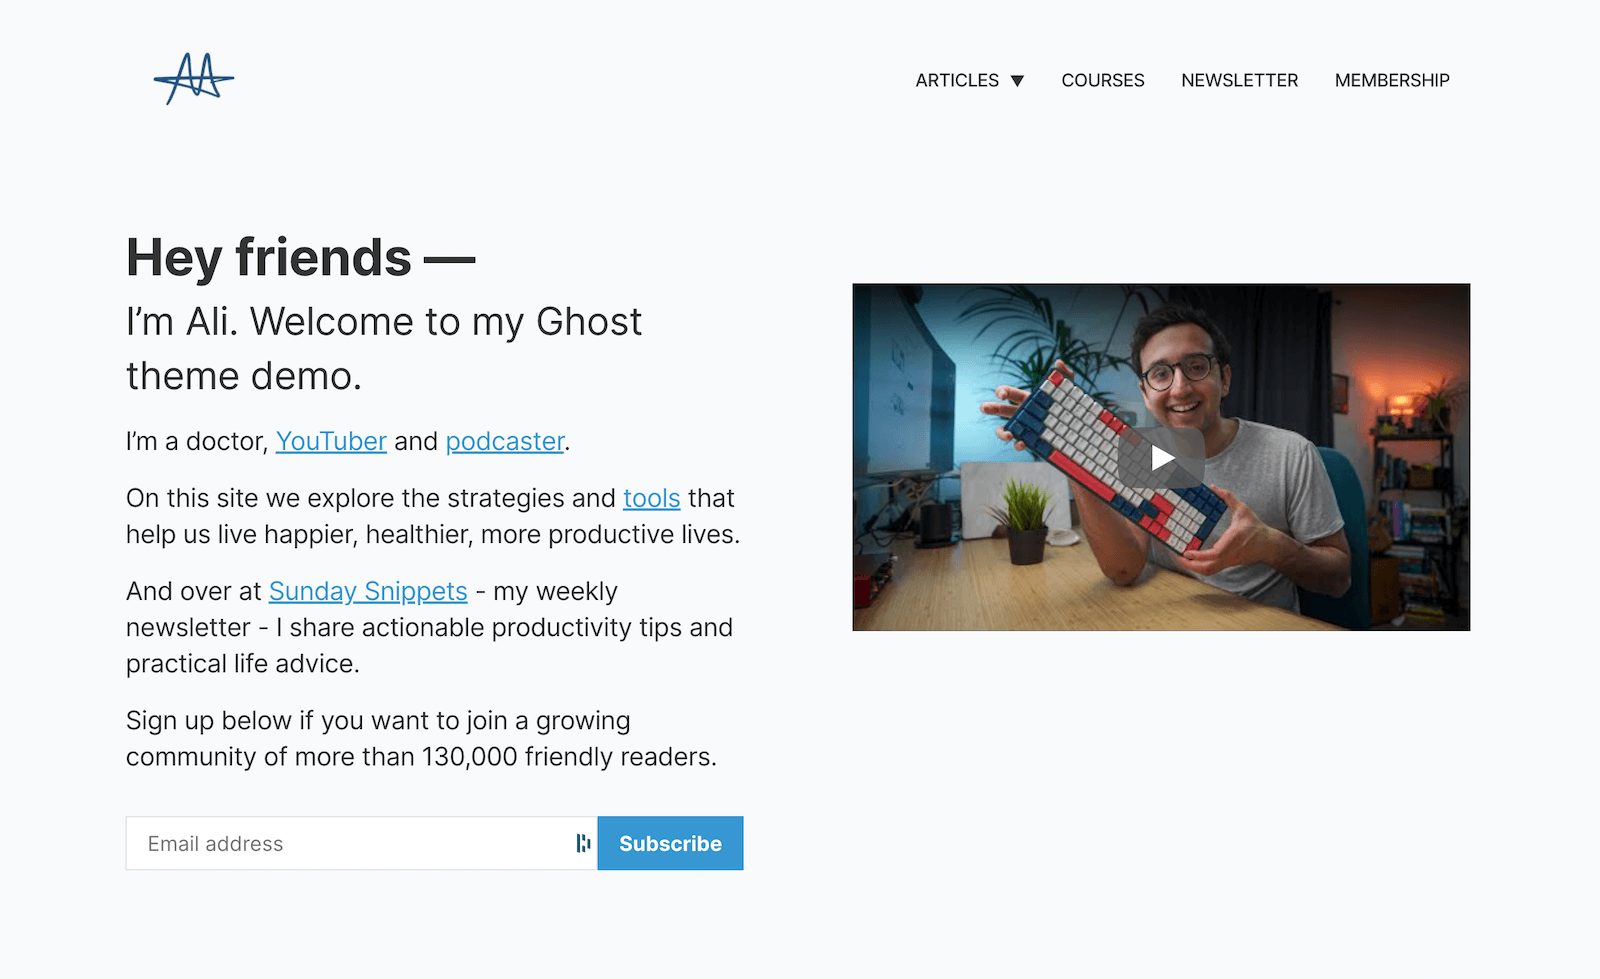
Create and publish a page with the slug home. Any content you add in that page will show up at the top of your homepage, left of the image and above the subscribe form.
Ali uses an <h1> heading for the top row (in the Ghost editor type # and then your content), then a <h2> heading for the second row (in the Ghost editor type ## then your content), then normal paragraphs for the rest of the top section.
Just below this intro will be the subscribe form, so the last paragraph can be an intro to your newsletter.
If you want to hide the newsletter subscribe form from this homepage section, there's a setting in Settings > Design > Homepage.
More homepage-related customisation:
Set up the menu
Next you should set up your menu. Add links in Settings > Navigation.
Try to add links to your main pages.
A two-level menu is supported in Ali Abdaal Original, which Ali uses to add a list of topics beneath a main "Articles" menu item.
To add a second level of links (which creates a dropdown in the site's menu), add two hyphens and a space to the beginning of sub-link labels, like this:
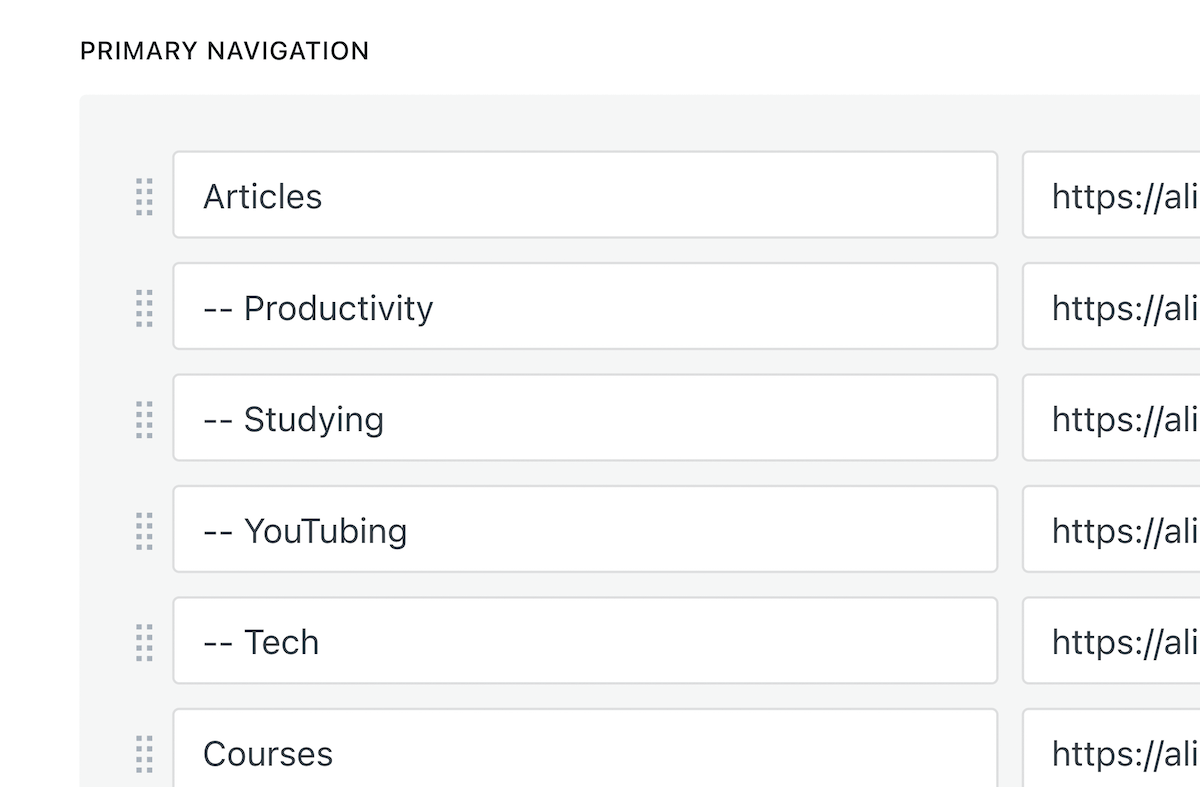
The menu will look like this on your site:
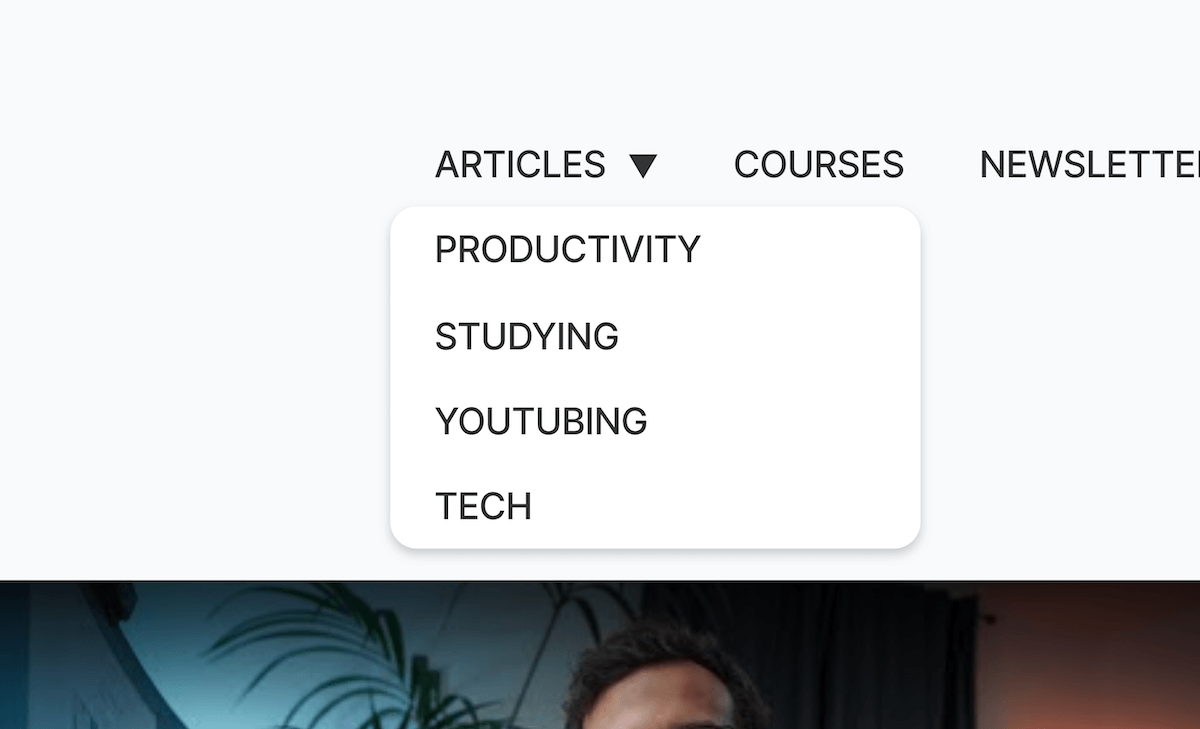
You can create multiple dropdowns in your menu using this system.
It's recommended you add at most 7 top-level links in the main navigation due to space limits in the header.
The Secondary menu is shown in the footer.
Set up Members pages
The Ali Abdaal theme comes with custom pages for member features:
- a page which shows your membership plans (default
/members/, but can be changed) - sign in and sign up pages (
/signin/and/signup/) - an account page for signed in members, showing their active subscription (
/account/)
These pages need to be enabled manually.
If you will not offer a newsletter or comments or let readers sign in to your site, you do not need to follow instructions in this step.
Step 1. Create a Membership page
Create and publish a new page for your Members landing page; this will contain your membership payment options ("tiers").
This page can have any URL (for example /members/ or /memberships/).
Important: Select the "Memberships" template in the editor sidebar to show your payment plans beneath the page content.
Feel free to add whatever content you want to this page, to promote your memberships.
Important: Make sure the "Members url" setting in Settings > Design > Site-wide matches the URL you chose for this page.
Step 2. Edit the page content
If you want to edit the content of the sign in, sign up pages, open the members-*.hbs files in the theme ZIP (make sure to re-ZIP the theme folder and re-upload into Ghost)
Step 3. Enable product Tiers
Ali Abdaal Original uses Ghost's "Tiers" beta features for managing different membership plans for your content.
Make sure to enable Tiers in Settings > Labs before you set up prices for your membership plans.
Set up the homepage
Ali's theme has a custom homepage, with some manual content areas.
These are not available to edit in Ghost, unfortunately, as Ghost does not have page builder features.
To make custom pages in Ghost like Ali's homepage, you need to edit HTML in the theme files.
You need to un-ZIP the theme folder you downloaded and edit home.hbs.
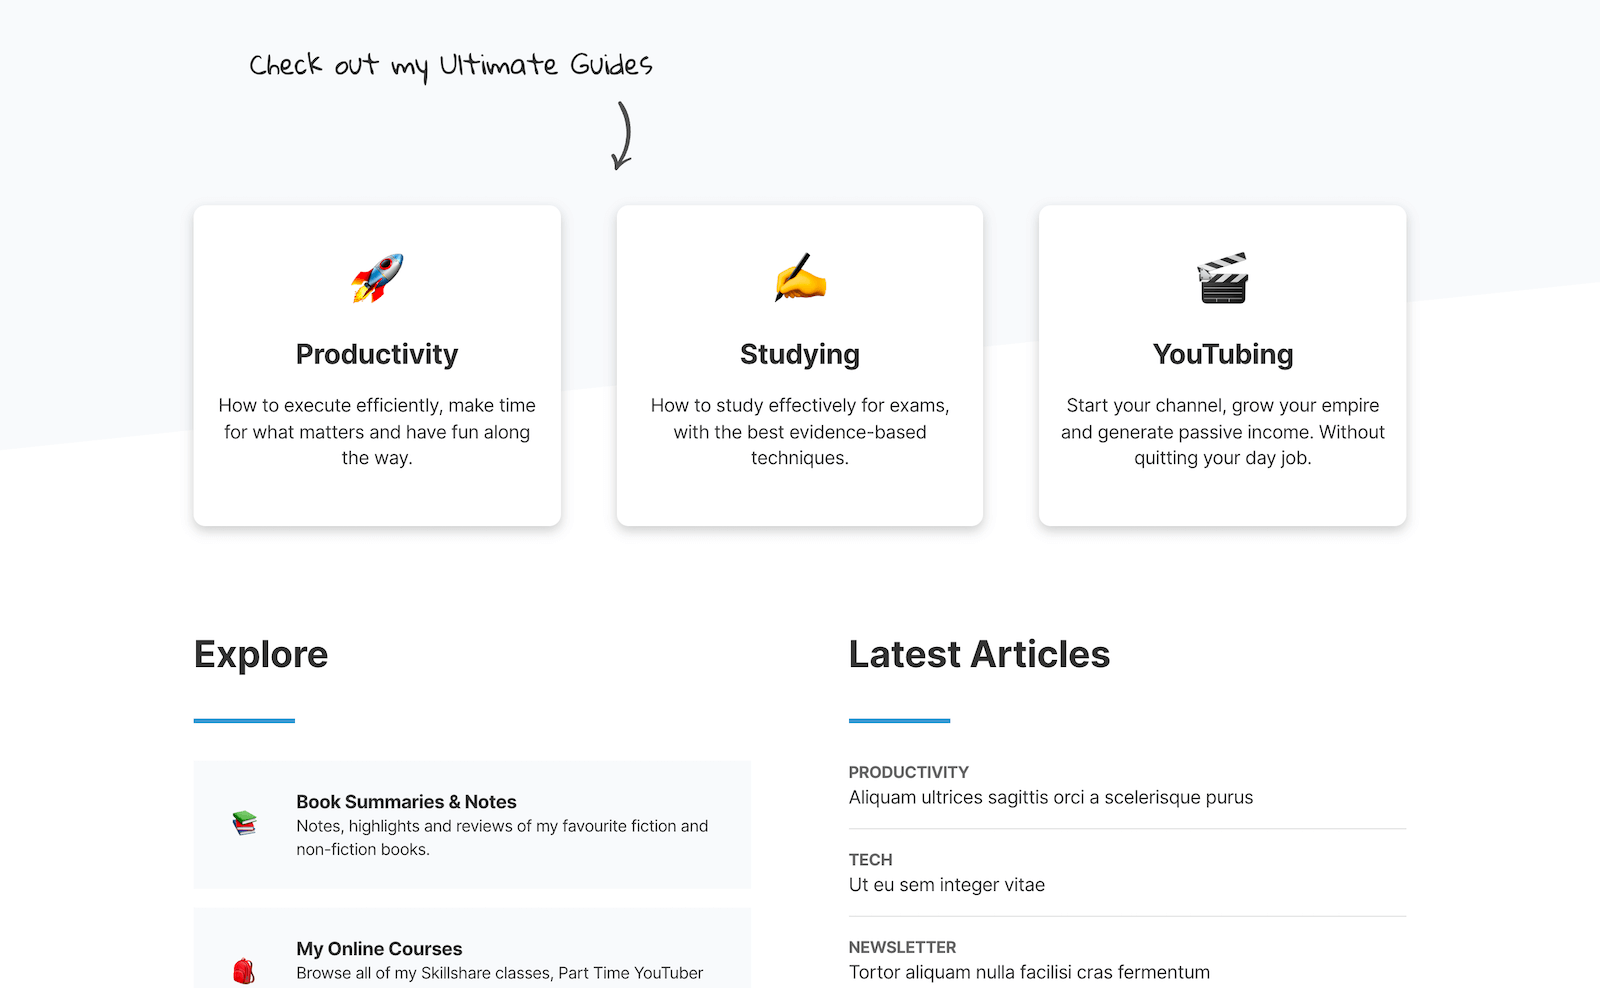
Home blocks
There are three "home blocks" on Ali's homepage. These can be edited within lines 45 and 61 of home.hbs.
Each block has the following HTML. You can edit the link, emoji, title and text.
<a class="home__topic-block tc color-text nolink mt2" href="/productivity/">
  <div class="fs45 mb1">🚀</div>
  <h2 class="mb1">Productivity</h2>
  <p>How to execute efficiently, make time for what matters and have fun along the way.</p>
</a>
The page supports maximum three home blocks.
Explore links
Just beneath the home blocks are the "Explore" links. These can be edited within lines 73 and 95 of home.hbs.
Each link as the following HTML. You can edit the link, emoji, title and text.
<a href="/book-notes/" class="home__explore-box nolink color-text">
  <div class="home__explore__icon fs24">📚</div>
  <div>
    <b>Book Summaries & Notes</b>
    <div class="fs14">Notes, highlights and reviews of my favourite fiction and non-fiction books.</div>
  </div>
</a>
Now re-upload the theme
When you're done editing the homepage, you need to re-ZIP the theme folder and upload it back into Ghost (go to Settings > Design, click "Change theme" in the bottom left, then "Upload theme" top right).
Set up post hubs
As with Ali's own website you can set up article "hubs" for your major topics, each with a main hub page with customisable page content and an automated post list at the bottom. See Ali's Productivity hub page for an example.
Note: This step is totally optional, and you don't have to set up these hubs on your site. You can simply use the built-in tag system if you want.
Step 1. Create tags for each topic
For each topic, you need to create a tag in Ghost. You can do this from the Tags page.
Important: The "Slug" field for each tag needs to match the URL of the page you want the content to appear under.
Step 2. Create a page for each topic
Now you need to create a page for each topic. This will act as the actual hub page on your site. The "Slug" for this page has to match the slug of the tag from Step 1.
You are free to add any content to this page that you want. This will form the bulk of the page.
Important: Select the "Hub" template from the editor sidebar. This tells Ghost to add the post list at the bottom of the page.
Add a feature image if you want an image to appear in the page header.
Step 3. Update the topics list in the hub page sidebars
You'll notice a list of different topics in the right sidebar of each hub page. This list cannot be generated automatically, unfortunately.
Make sure to update this list to match the topics you want to show on your site (on Ali's site, it matches the "Articles" dropdown in the main menu).
Each link should have the following HTML, replacing "productivity" with whatever your tag slug is, from step 1. The "Food" text is what is shown in the list.
<li class="toc-list-item {{#has slug='your_tag_slug'}}is-active-li{{/has}}">
  <a href="/your_tag_slug/" class="toc-link {{#has slug='your_tag_slug'}}is-active-link{{/has}}">TAG_NAME</a>
</li>
This file is in the theme ZIP as partials/hub-sidebar.hbs. Edit the file, re-ZIP the folder and then re-upload it into Ghost.
Step 4. Create an "Articles" page
This page acts as a directory of your topics/hubs. See Ali's Article page for an example.
Create and publish a new Page in Ghost. (You can call it anything you like; it doesn't have to be called "Articles")
Any content you add to the page will be shown above the list of topics.
Important: Select the "Articles" template from the editor sidebar.
Step 5. Update the topics list on the Articles page
To add different topics to this page (showing the name, a post list and a clickable link to the "hub" page), edit the partials/topic-list.hbs file in the theme ZIP folder.
The code for each topic should be like this. Replace your_tag_slug with your tag's slug, and TOPIC_NAME with your topic name.
<div class="topic">
<h2 class="normal">TOPIC_NAME</h2>
{{#get "posts" filter="primary_tag:your_tag_slug" limit="3"}}
{{#foreach posts}}
<a href="{{url}}" title="{{title}}" class="article-link color-text nolink">{{title}}</a>
{{/foreach}}
{{/get}}
<a href="/your_tag_slug/" class="article-more-link fs14 ttu b color-text nolink">Read more articles on TOPIC_NAME →</a>
</div>You can show a different amount of posts for each topic by changing limit="3" to whatever you want.
Once you've edited the file, re-ZIP the folder and then re-upload it into Ghost.
Step 6. Update your navigation
Add an "Articles" (or similar) item in your main navigation, with sub items to match your different topics. This list should match the sidebar you created in step 3 and the list of topics in step 5, but it can show whatever links you'd like.
Go up to the "Set up the menu" section
Step 7. Upload the redirects.yaml file
This file sets up automatic redirects from the default tag pages in Ghost to send users to your hub pages instead.
You should upload the redirects.yaml file found in the theme folder into Settings > Labs.
When this file is uploaded, all visits to default tag pages (like /tag/food/) will redirect to /food/ instead.
Add a newsletter page
You can add a newsletter archive page to your site. This page uses a different template from the rest of your site's pages, and lists all posts tagged with Newsletter.
See Ali's Newsletter page for an example.
Step 1. Create a Newsletter page
Create and publish a new Page in Ghost.
Any content you write in this page will appear in the header. A subscribe form is automatically added to the page.
Important: Select the "Newsletter" template in the editor sidebar.
If you add a Feature image to this page, it will be shown in the page header. For best results, try to choose a portrait image which is not too tall.
Step 2. Hide the site nav
On Ali's site, you'll notice the main site navigation is hidden on the Newsletter page, making it more like a landing page rather than a page on the site.
If you'd like to do this, simply select the "Newsletter No Nav" template instead of "Newsletter".
The site navigation will be removed and your site's logo will be added to the page header, above the page title.
Step 3. Tag newsletter posts
Make sure to tag all of your newsletter posts using the tag Newsletter. All posts tagged with this tag will be shown in the post list on the Newsletter page.
Add a podcast page
Since version 1.1.0 of the theme, you can add a podcast page to your site. This page uses a different template from the rest of your site's pages, and lists all posts tagged with Podcast.
See the demo page for an example.
Note: you need to host your podcast on a podcast service like Transistor or Libsyn; Ghost is not a podcast host. This method simply lets you list your podcast episodes on your website.
Step 1. Edit and upload the routes file
To enable the Podcast page, uncomment line 13 to 17 (remove the # and the following space on each line) of routes.yaml, making it look like this:
routes:
  /:
    template: home
    data: page.home
  /signup/: members-signup # Free sign up page
  /signin/: members-signin # Member sign in
  /account/: members-account # Member sign in

collections:
  /:
    permalink: /{slug}/
    filter: tag:-[podcast,book]
  /podcast/:
    permalink: /podcast/{slug}/
    filter: tag:podcast
    template: podcast
    data: page.podcast
  # /book-notes/:
  #   permalink: /book-notes/{slug}/
  #   filter: tag:book
  #   template: book-notes
  #   data: page.book-notes

taxonomies:
  tag: /tag/{slug}/
  author: /author/{slug}/
Make sure you have perfect indentation in the file (two spaces for each level), otherwise Ghost will refuse it.
You can change the URL of your podcast page by editing /podcast/ in the two places in the file.
If you are adding a Podcast page to a version of the theme prior to 1.1.0, simply add the /podcast/ section into your routes file, plus the filter: tag:-[podcast,book] line in the top collection.
Upload the file in Settings > Labs.
Step 2. Create a podcast page
Create and publish a page with the slug podcast.
(It doesn't matter if you changed the page URL in the step above; this page's slug has to be podcast)
The title, feature image and content will be shown at the top of your podcast page.
If you want to show a video in the header instead of the feature image, add the ID of a YouTube video (the "CPyTJ4ODGfc" from "https://youtu.be/CPyTJ4ODGfc") in the "Podcast page youtube id" field in Settings > Design > Site-wide.
You can add podcast app buttons like the demo, by adding images into the page content. All images in the content will be shown at 40px tall.
Step 3. Tag podcast posts
Make sure to tag all of your podcast posts with Podcast so they show up on this page.
When creating podcast posts, make sure to add an embed of the episode towards the top of the post.
Add a book notes page
Since version 1.1.0 of the theme, you can add a page to your site listing books you've read or reviewed. This page uses a different template from the rest of your site's pages, and lists all posts tagged with Book.
See the demo page for an example.
Step 1. Edit and upload the routes file
To enable the Book notes page, uncomment line 17 to 21 (remove the # and the following space on each line) of routes.yaml, making it look like this:
routes:
  /:
    template: home
    data: page.home
  /signup/: members-signup # Free sign up page
  /signin/: members-signin # Member sign in
  /account/: members-account # Member sign in

collections:
  /:
    permalink: /{slug}/
    filter: tag:-[podcast,book]
  # /podcast/:
  #   permalink: /podcast/{slug}/
  #   filter: tag:podcast
  #   template: podcast
  #   data: page.podcast
  /book-notes/:
    permalink: /book-notes/{slug}/
    filter: tag:book
    template: book-notes
    data: page.book-notes

taxonomies:
  tag: /tag/{slug}/
  author: /author/{slug}/
Make sure you have perfect indentation in the file (two spaces for each level), otherwise Ghost will refuse it.
You can change the URL of your books page by editing /book-notes/ in the two places in the file.
If you are adding a Book notes page to a version of the theme prior to 1.1.0, simply add the /book-notes/ section into your routes file, plus the filter: tag:-[podcast,book] line in the top collection.
Upload the file in Settings > Labs.
Step 2. Create a books page
Create and publish a page with the slug book-notes.
(It doesn't matter if you changed the page URL in the step above; this page's slug has to be book-notes)
The title, feature image and content will be shown at the top of your podcast page.
Step 2. Tag book posts
Make sure to tag all of your podcast posts with Book so they show up on this page.
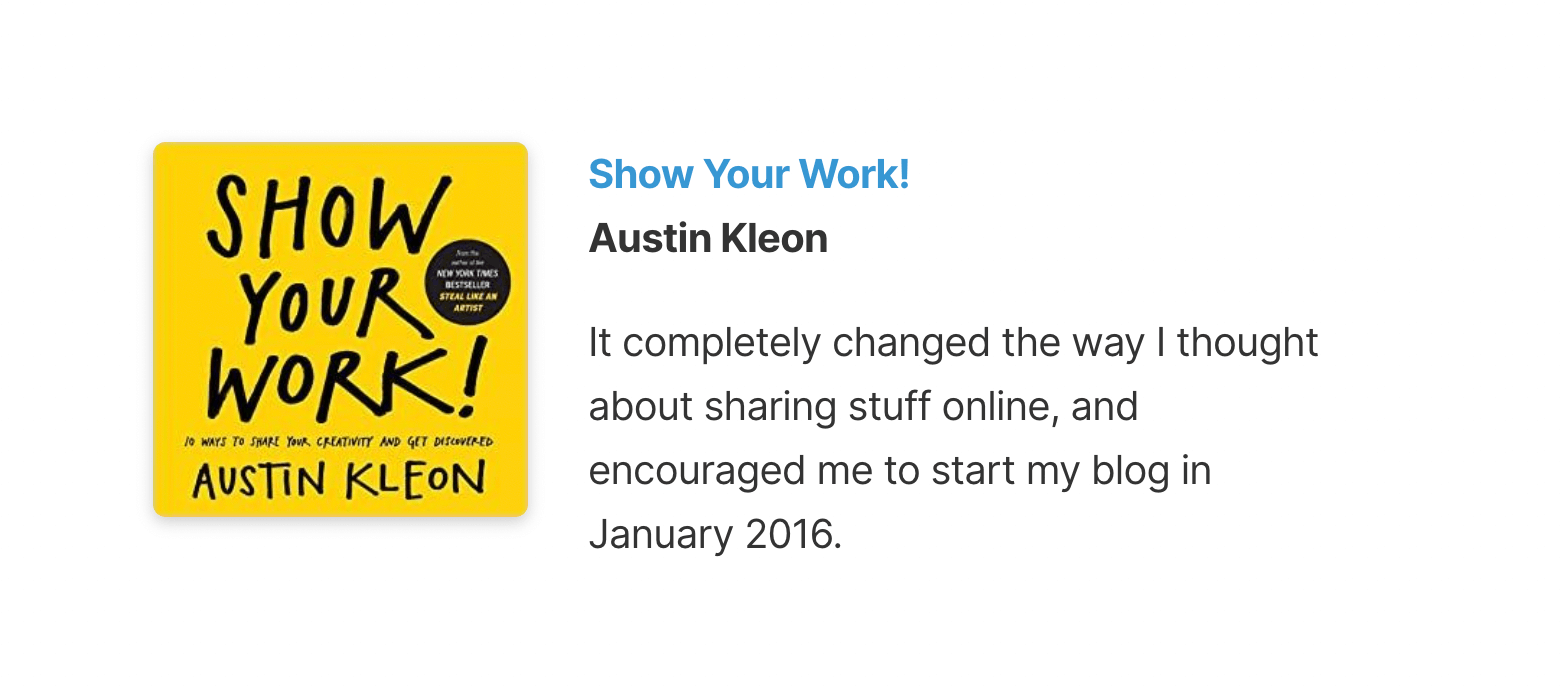
Important: The theme will split page titles by a - character to look nice on the page.
Examples:
"Show Your Work! - Austin Kleon" will look like this on the Books page:
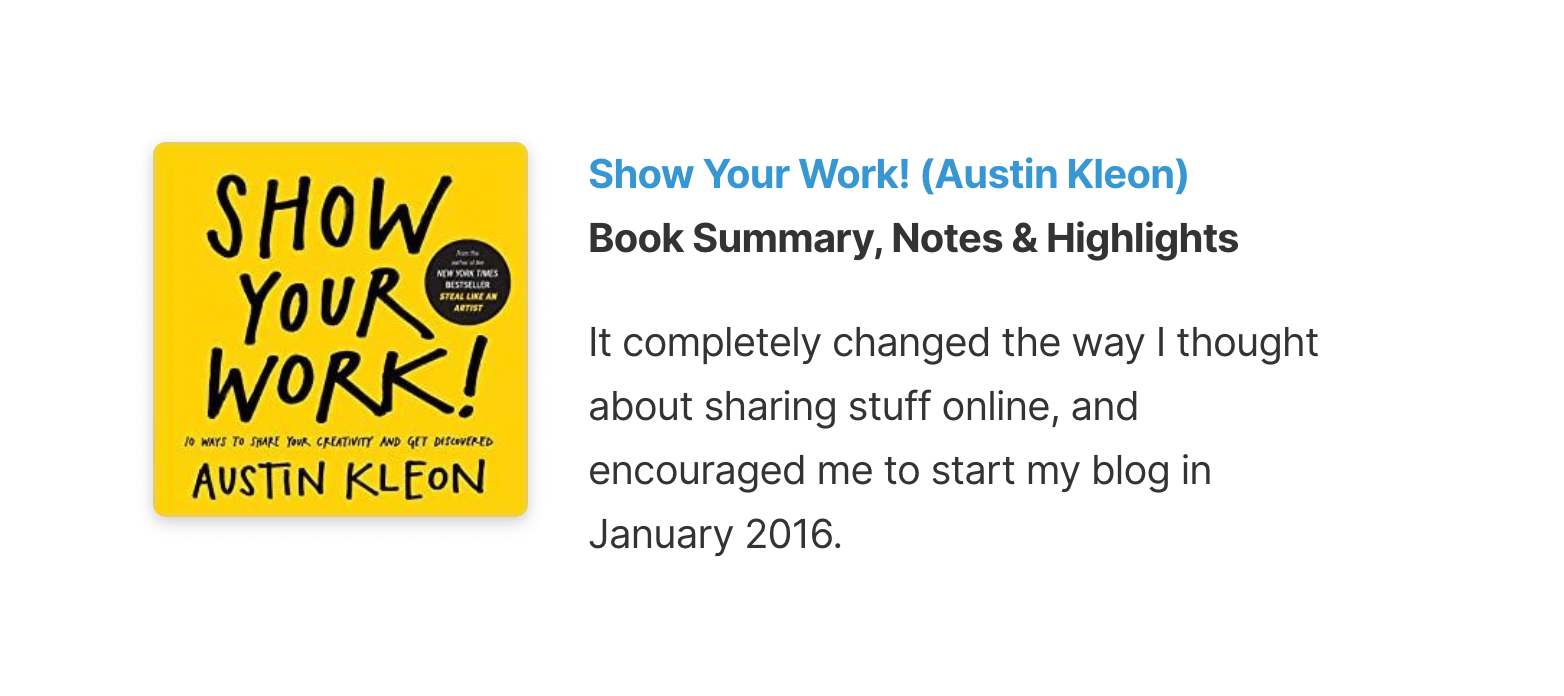
"Show Your Work! (Austin Kleon) - Book Summary, Notes & Highlights" will look like this on the Books page:
Customisation
Add a video or image to the homepage header
To add an image to the homepage header, add a Featured image to the Home page you created during installation.
To add a video to the homepage header instead, go to Settings > Design, and add a YouTube video ID (which you can get from a video's URL) to the Homepage > Youtube id field.
(If the video's URL is https://www.youtube.com/watch?v=1ArVtCQqQRE, paste in 1ArVtCQqQRE to this field.)
Change the accent colour
Your site's accent colour is used for links, buttons and quote borders.
You can change this colour from the "Brand" section in Settings > Design.
Change background color
The background colour used in the site header and some other areas in the site can be edited in the "Site-wide" section in Settings > Design.
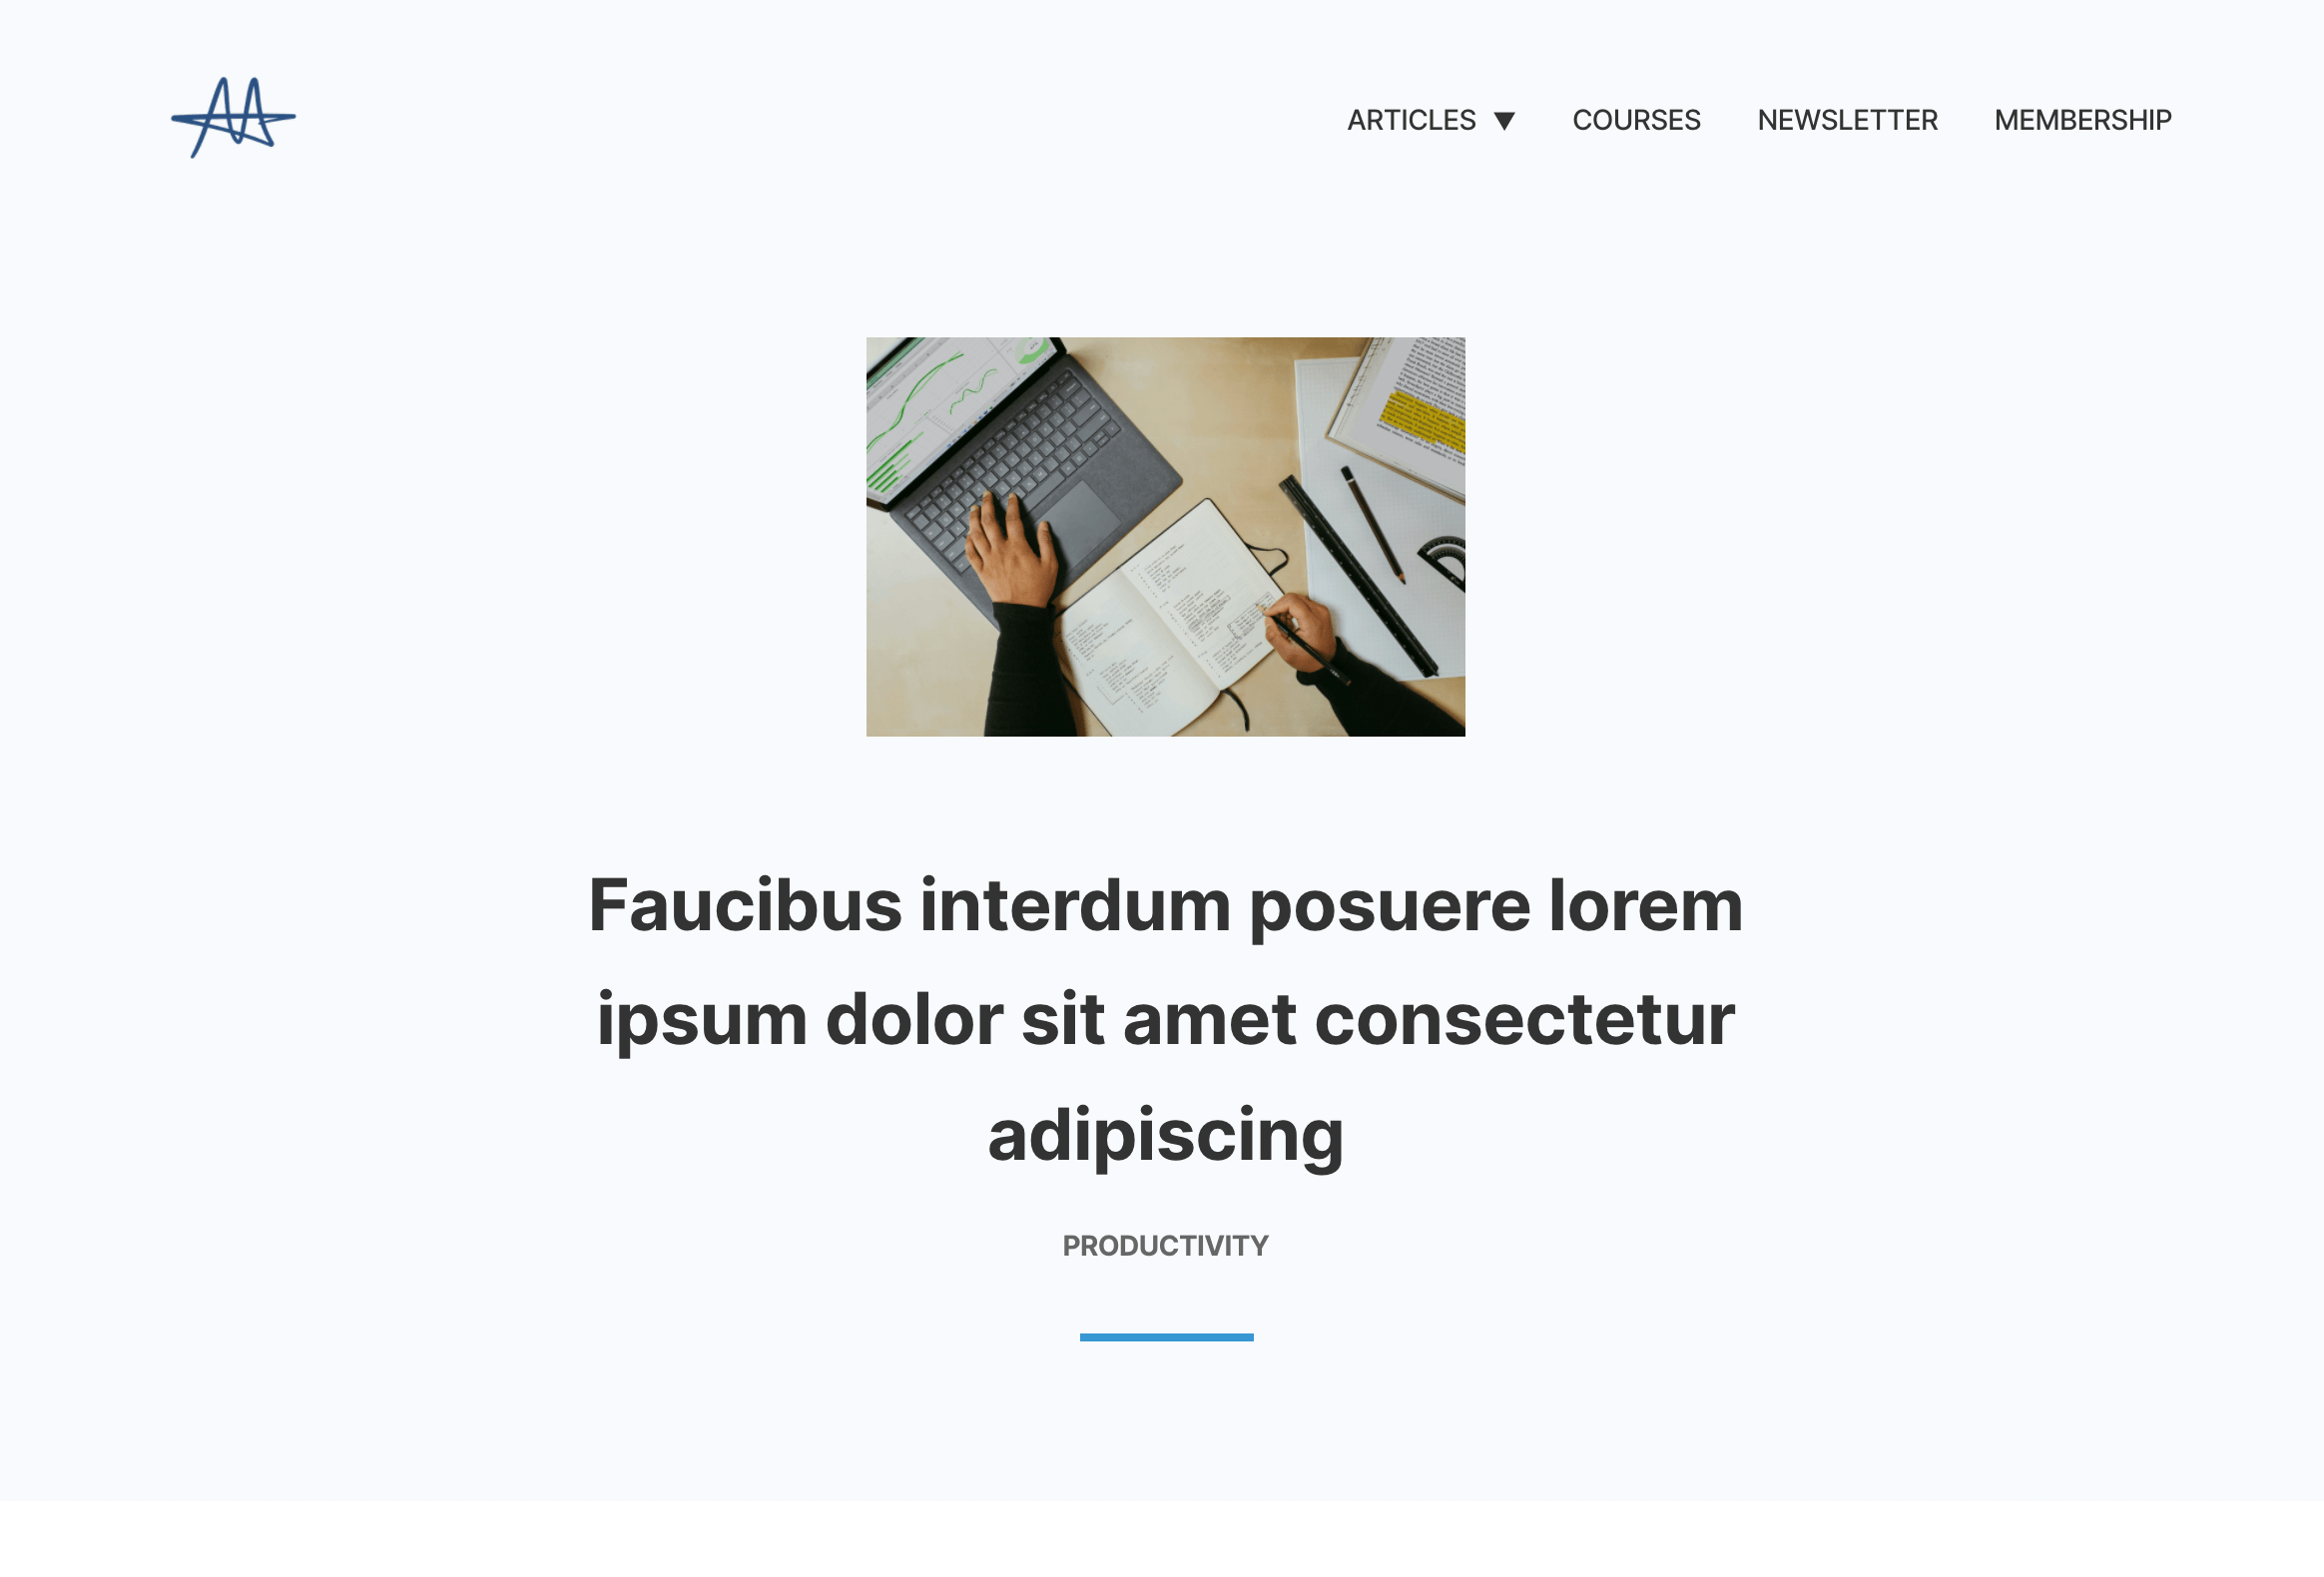
Use large post feature images
Ali's own theme uses small feature images at the top of posts. You can enable larger images in the Design settings; change "Post image size" to "Large".
Hide the subscribe form in the footer
Delete the lines 16 to 25 in partials/footer.hbs, then re-ZIP and uploads the theme.
Edit the footer subscribe form text
Go to "Settings > Design > Site-wide" and change the copy in the "Footer form copy" field. This field accepts HTML so you can add links and italicised or bold text.
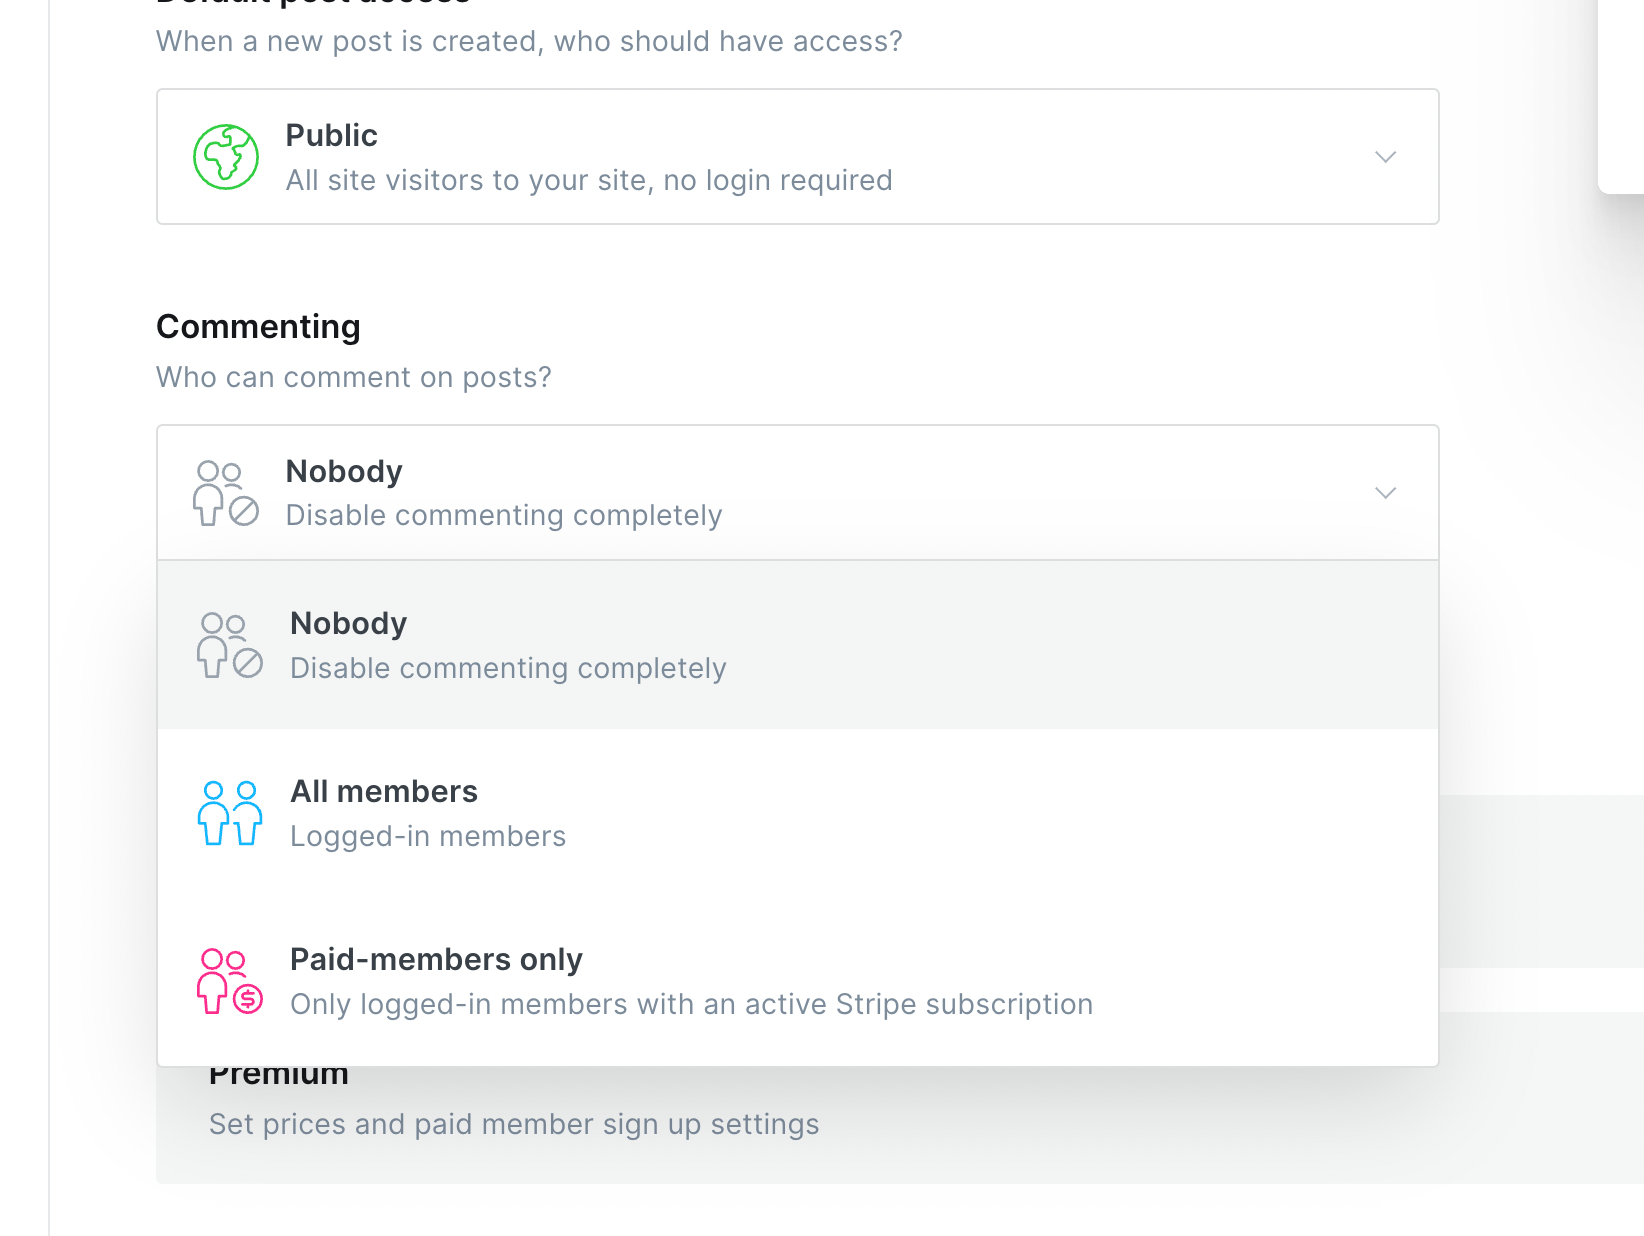
Add comments to posts
Ali Abdaal theme comes with two commenting options: native Ghost comments and Cove comments. You can compare the two at cove.chat/comments-for-ghost/
To add native Ghost comments, go to Settings > Membership and select "All members" or "Paid-members only" from the "Commenting" field.
To add more powerful and customisable comments with Cove:
- Create a new Integration in Ghost (Settings > Integrations > Add custom integration).
- Go to cove.chat, sign up and create a new account. You will need the "Content API Key" from the integration created in the previous step.
- Copy the bold publication ID from Cove's installation instructions and paste it into your Ghost admin in Settings > Design > Site-wide > Cove id. This will turn on comments on all posts.
For Cove to work, make sure you have Portal enabled (Settings > Membership > , as it's used to sign up and sign in your visitors for them to be able to comment. You do not need to have the Portal button enabled.
Stop external links opening in new tabs
By default all links to other sites open in new tabs.
To disable this, go to Settings > Design > Site-wide and turn off the "Open external links in new tabs" option.
Add social links
Add footer links and icons to your social accounts.
For Twitter and Facebook, add your profile links in Settings > General > Social accounts.
For YouTube and Instagram, add your profile links in Settings > Design > Site-wide.
You can add more links manually by adding HTML in the partials/footer.hbs file. Remember to re-ZIP and re-upload the theme when you're done.
How to
Show a table of contents on a post
Add the internal tag #show-toc on any post and a Table of Contents will appear at the top of the content.
Turn off commenting on specific posts
In v1.3.0 of the theme and later, you can turn off comments on individual posts by using the internal tag #no-comments.
Version history
v1.3.2 • September 1, 2023New Added support for Ghost's new "Show title and feature image" page setting.
v1.3.0 • October 4, 2022New Added support for native Ghost comments (requires Ghost v5.9.0). Read update instructions.New Support for turning off comments on individual posts.
v1.2.0 • July 20, 2022New Added search option (requires Ghost v5.3.0). Read update instructions.
v1.1.3 • June 2, 2022Better Fixed membership page and broken bookmarks for Ghost v5. Read update instructions.
v1.1.2 • May 28, 2022Better Compatibility for Ghost v5. Read update instructions.
v1.1.1 • April 5, 2022Better Fixed broken text on member account page. Read update instructions.
v1.1.0 • March 24, 2022New Podcast page and archiveNew Book notes page and archiveNew Access label for member- and paid-only content (requires v4.40.0 or later)Better Fixed the Twitter and Facebook footer links
v1.0.2 • March 14, 2022Better Minor tweak to the height of the sign in page.
v1.0.1 • March 1, 2022Better Full support for wide and full-width post images. See example. Read update instructions from 1.0.0.
v1.0.0 • February 22, 2022
Initial launch.